
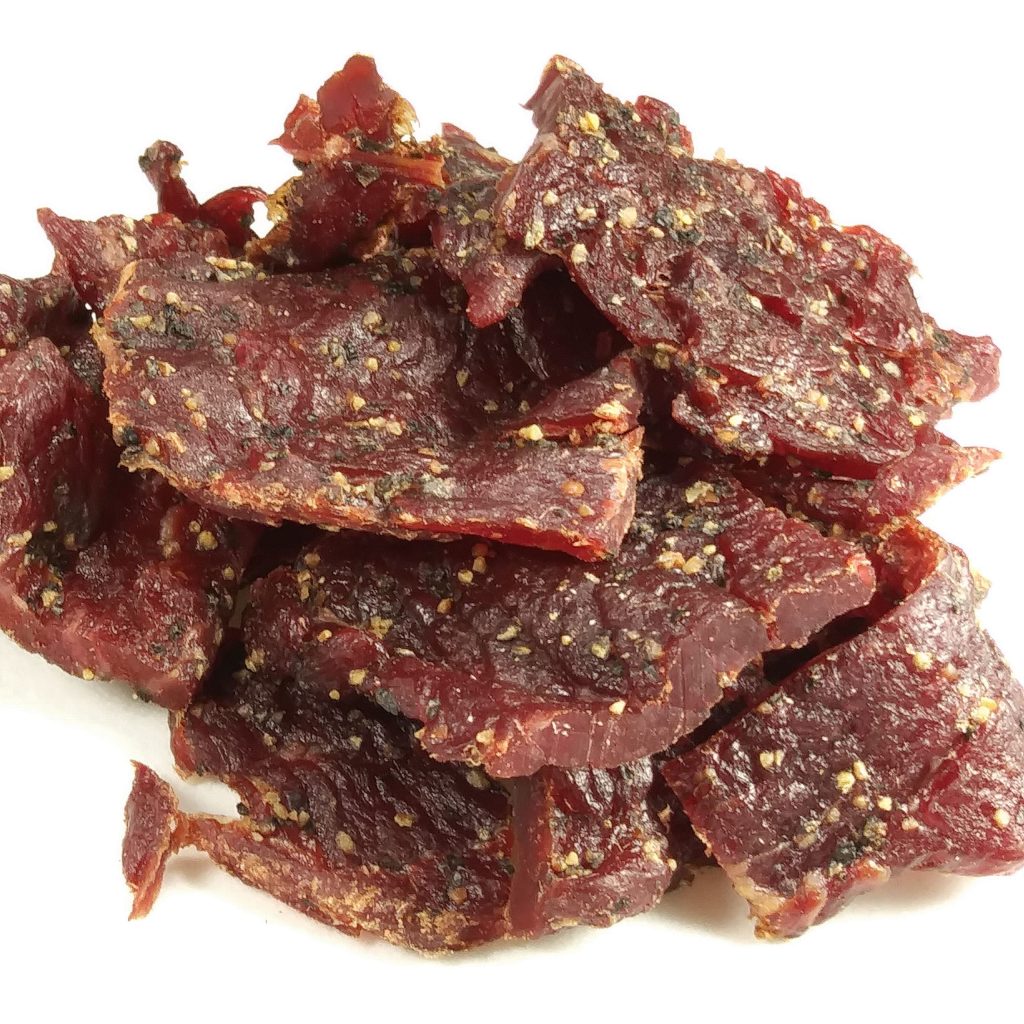
🥩Bold, Smoky, and Perfectly Seasoned
There’s something deeply satisfying about making homemade beef jerky. The process is simple, the ingredients are straightforward, and the results are far better than anything you’ll find in a store. This version focuses on a bold, savory marinade with Worcestershire sauce, soy sauce, brown sugar, and liquid smoke – delivering classic jerky flavor with just the right amount of heat.
Using a dehydrator makes the process reliable and beginner-friendly, allowing you to control temperature, texture, and seasoning from start to finish.
🍖 Why Make Jerky at Home?
Homemade jerky lets you:
Control salt, spice, and sweetness
Skip unnecessary preservatives
Choose high-quality meat
Customize chewiness and thickness
And once you make your first batch, you’ll quickly see why jerky making becomes a favorite kitchen project.
🛒 Ingredients
Lean Beef
▢ 1 lb eye of round
(Lean cuts are essential for jerky – trim off all visible fat to prevent spoilage.)
Marinade
▢ ¼ cup Worcestershire sauce
▢ ¼ cup soy sauce
▢ 1 teaspoon black pepper
▢ 1 teaspoon salt
▢ 2 teaspoons brown sugar
▢ 2 teaspoons liquid smoke
▢ 1 teaspoon red pepper flakes
This marinade creates a savory, smoky jerky with subtle sweetness and a gentle kick of heat.
Optional
▢ ¼ teaspoon curing salt
(Optional, but recommended for longer storage and added food safety.)
Step-by-Step Instructions
1. Prepare and Slice the Beef
Trim all visible fat from the eye of round. Fat does not dehydrate well and can shorten shelf life.
Slice the beef into strips about ¼ inch thick:
With the grain for chewier jerky
Against the grain for more tender jerky
For best results, partially freeze the beef for 1–2 hours before slicing – this makes clean, even cuts much easier.
2. Mix the Marinade
In a large bowl or sealable bag, combine:
Worcestershire sauce
Soy sauce
Black pepper
Salt
Brown sugar
Liquid smoke
Red pepper flakes
Optional curing salt
Stir until fully blended.
3. Marinate the Beef
Add the sliced beef to the marinade and mix thoroughly so every piece is coated.
Cover and refrigerate for 8–24 hours, stirring or flipping once or twice during the marinating process. Longer marinating equals deeper flavor.
4. Prep for Dehydrating
Remove beef from the marinade and pat dry with paper towels. This step helps the jerky dry evenly and prevents a sticky surface.
Arrange strips in a single layer on dehydrator trays, leaving space between each piece for proper airflow.
🌬️ Dehydrate the Jerky
Set your dehydrator to 150–160°F.
Dry time will vary based on thickness and dehydrator model, but expect 4–7 hours.
Rotate trays halfway through if needed to ensure even drying.
🔍 How to Tell When Jerky Is Done
Your jerky is ready when:
It bends and cracks slightly but does not snap
White muscle fibers appear when torn
It feels dry but still slightly pliable
If moisture beads on the surface, it needs more time.
🧂 Cooling and Storage
Allow jerky to cool completely before storing.
Storage options:
Airtight container for short-term use
Vacuum sealing for extended freshness
Refrigerate or freeze for longest shelf life
If curing salt was used, jerky will last longer at room temperature, but refrigeration is still recommended for homemade batches.
🔥 Flavor Adjustments & Tips
Want to tweak it next time?
Add extra red pepper flakes or cayenne for more heat
Swap brown sugar for honey or maple syrup
Add garlic powder or onion powder for deeper savory notes
Once you dial in your preferred balance, this marinade becomes a reliable go-to.
🥓 Final Thoughts
Making beef jerky at home is simple, rewarding, and incredibly customizable. This dehydrator method paired with a bold, smoky marinade delivers classic jerky flavor with consistent results every time.
Whether you’re making a batch for road trips, hiking snacks, or just because – this recipe is one you’ll come back to again and again.